Typologies
|
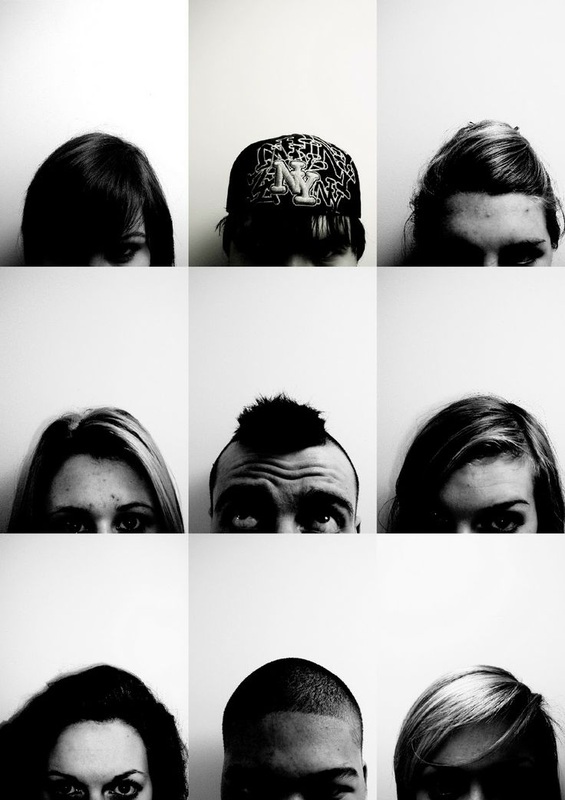
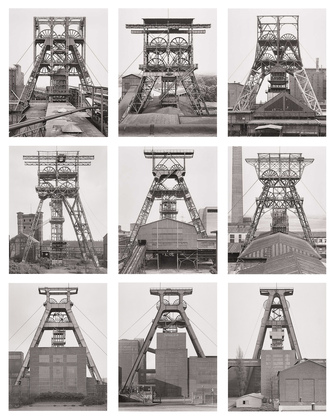
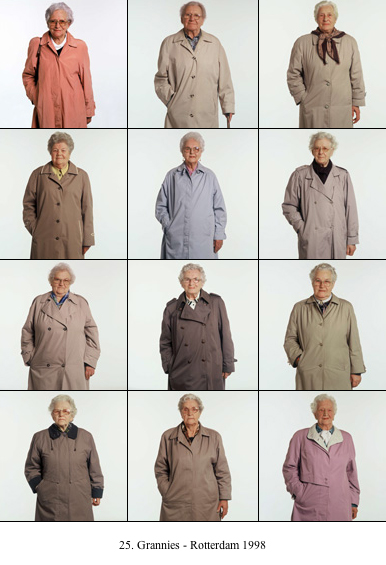
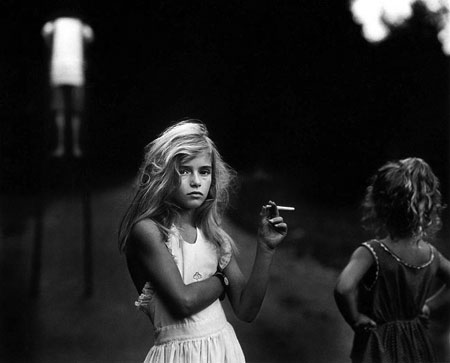
Typologies became a mainstay of the photographic repertoire with the work of Bernd and Hilla Becher, August Sander, and many others. A photographer uses typologies not only to document but also to make a statement.
Beauty can be found in similarity and in differences. A good typology will make the viewer aware of both. As an introduction to this assignment let's have a look at both historical and contemporary typologies. A Flickriver typology collection can be found here. A Pinterest typology collection can be found here. Goal: To create a collection on nine photos, submitted as one image. Each image should have similar qualities, such as:
Creating your typology Images should be similar enough to feel that they belong together and different enough to be interesting.
|
|


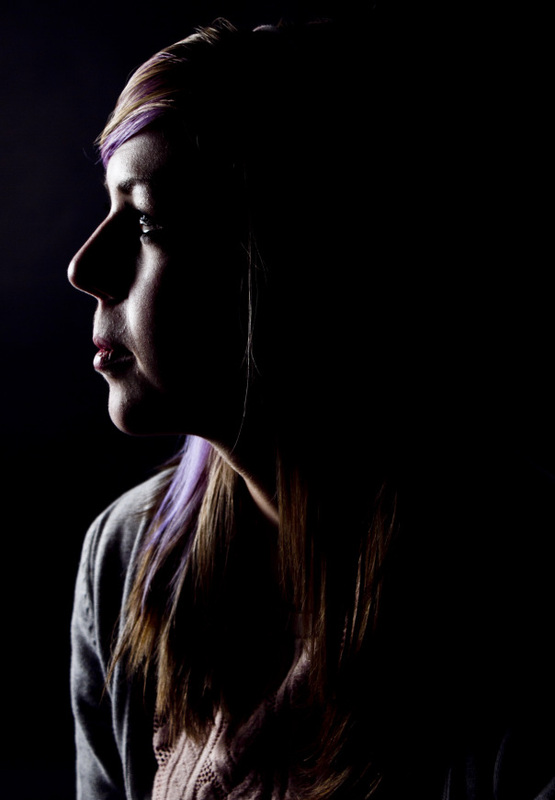
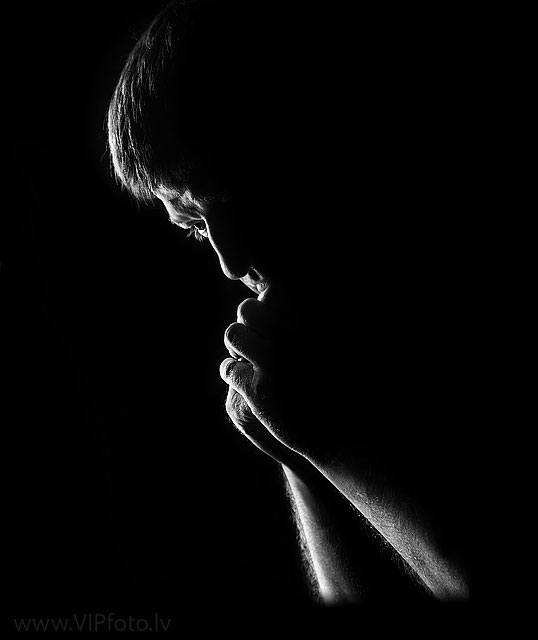
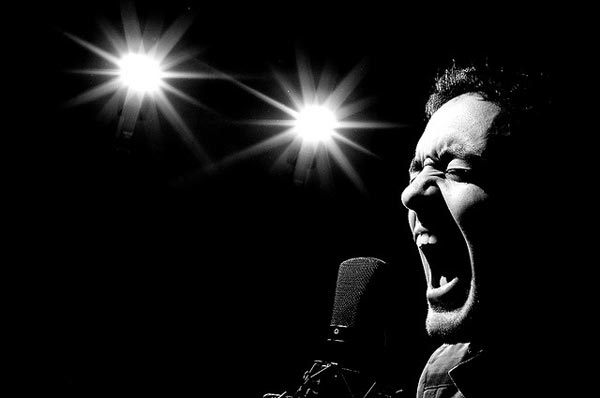
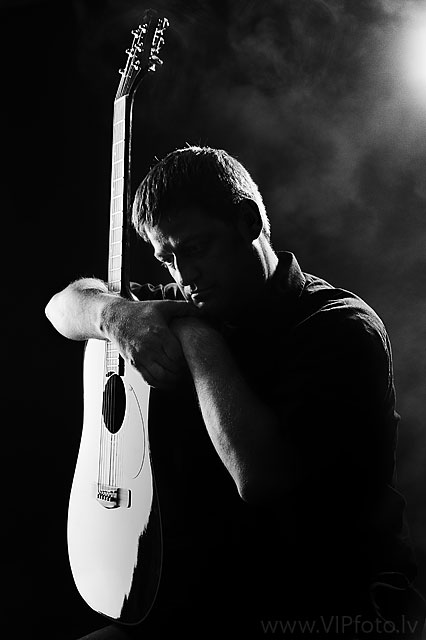
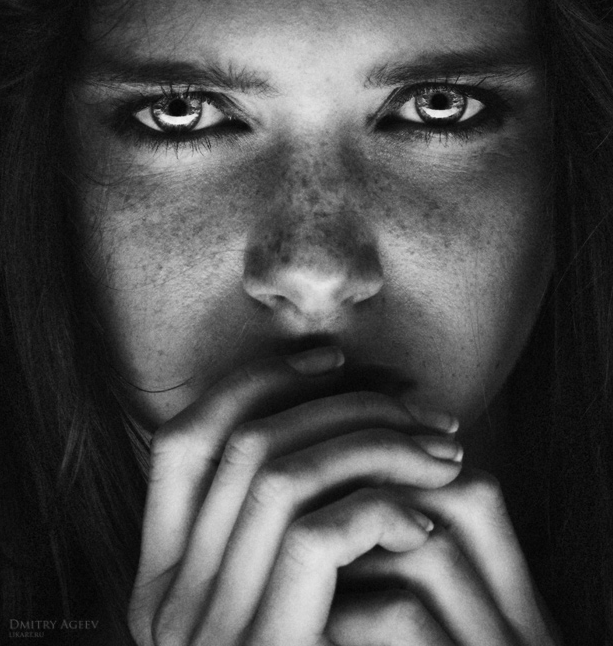
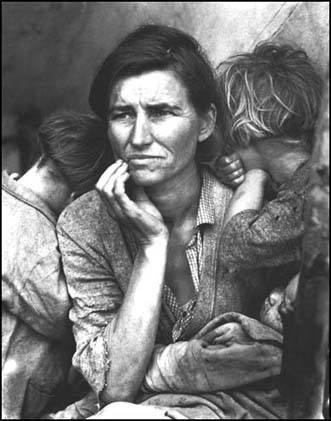
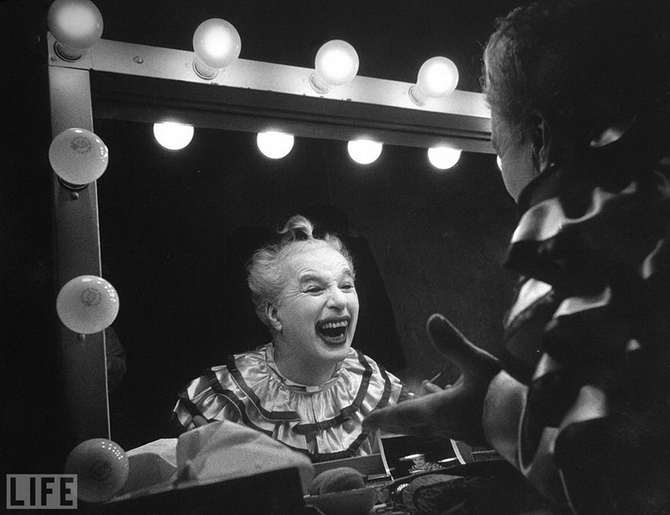
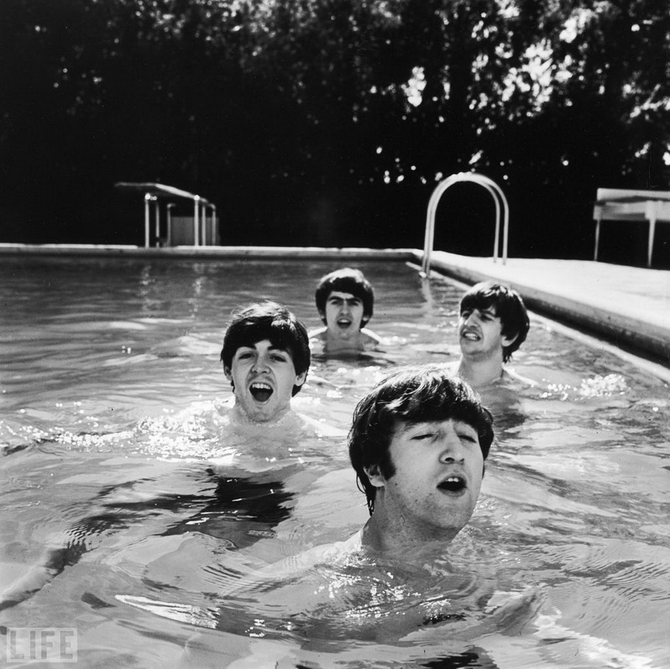
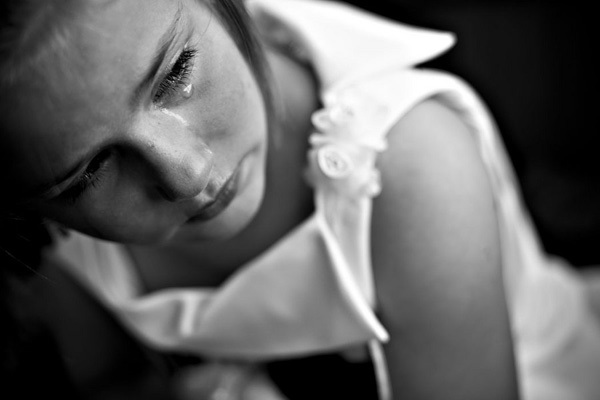
Portraits
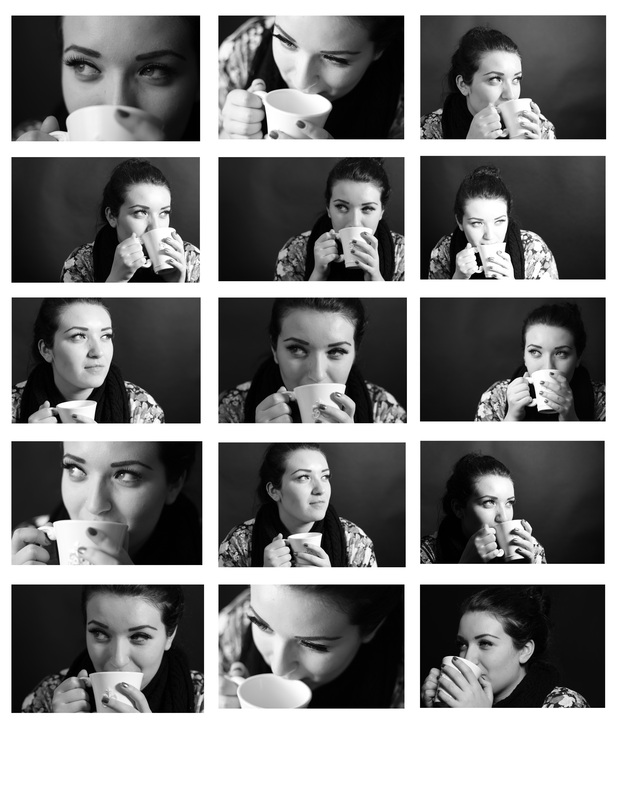
Contact Sheet Example
Project checklist:
All files named properly! |
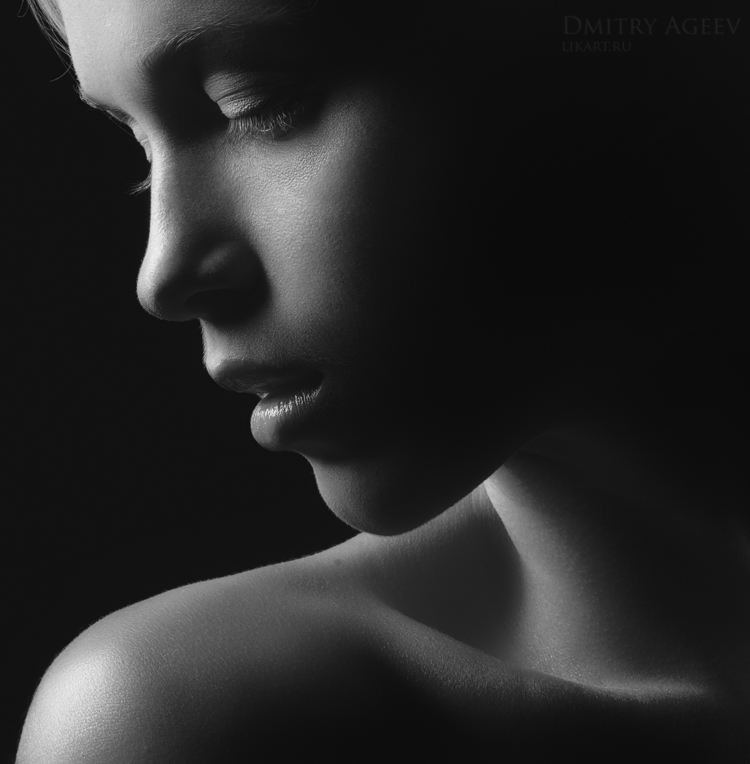
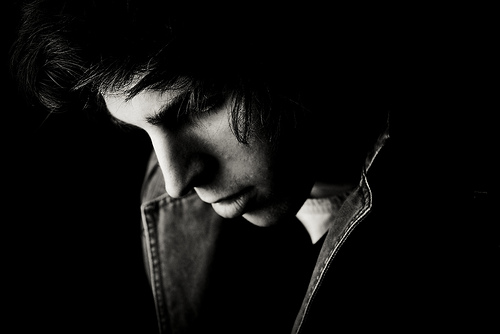
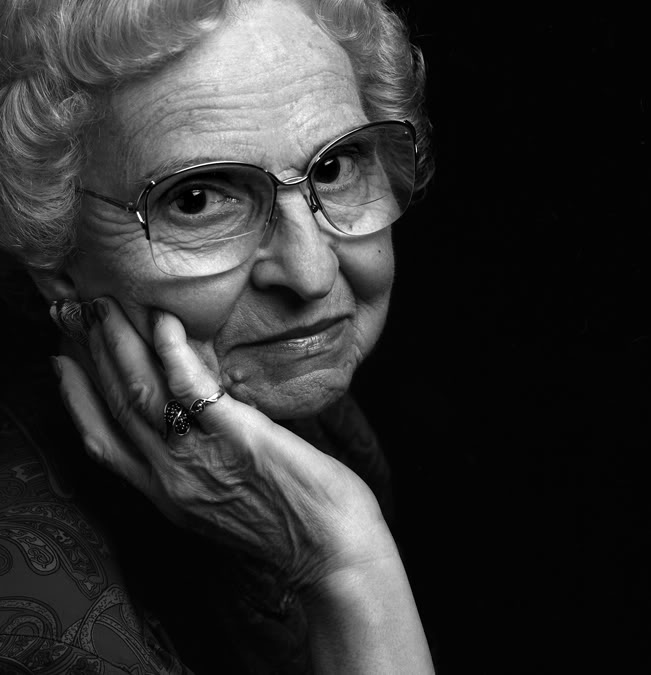
Portraits
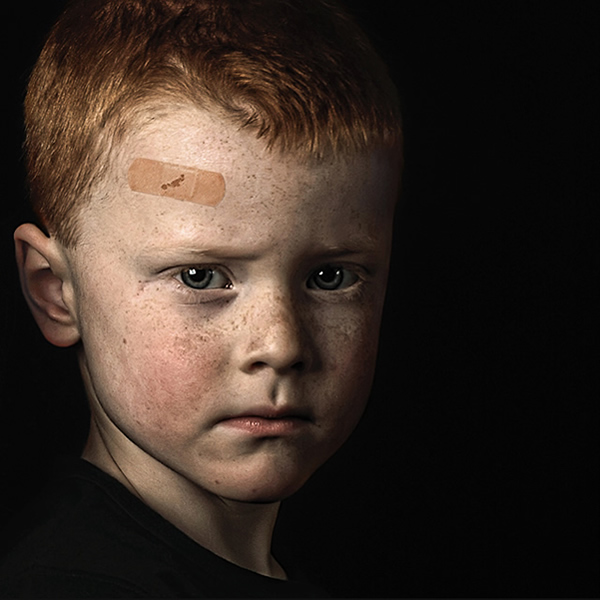
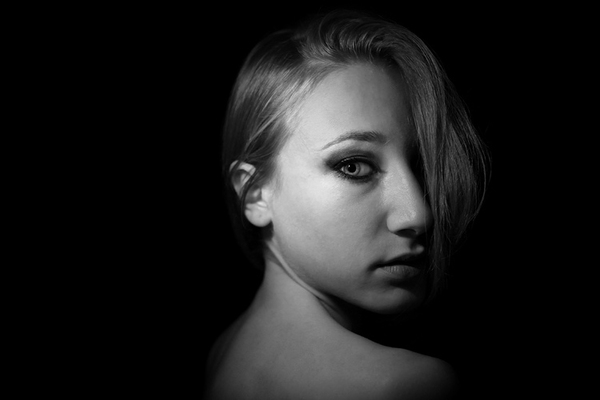
At the end of this project you will have created a series of unique portraits. Use your creativity to show your model’s personality. Research and Brainstorming First you need to look at as many portraits as possible. Collect Answer the following questions about portraits. What makes a good portrait? Collect at least 20 images of portraits that you think are strong. Create a GALLERY on your projects page of website. Research paragraph: Write a paragraph that answers the following questions: How does a photographer capture his/her subject’s personality in a portrait? How can you make a portrait unique and original? How does lighting affect the photograph? Answer your questions in a word document named lastname_firstname_portrait research.doc For each series create 10 thumbnails that will guide you when taking your photos. They do not need to be detailed sketches, but I should be able to tell how far the subject is from the camera, what angles you’d be using. Please make note of props, location, model, mood etc. Put research and word doc in a folder called lastname_firstname_portraitResearch and hand in to the 'drop box' Series 1: Black and white studio portrait – low key Level 1 (1 photo) Level 2 (3 photos) Using the lighting techniques that we learned in class create a dramatic portrait. Take at least 15 shots o side light o two lights o high light o optional (rim light – set up behind to light the subject’s hair) · create a contact sheet in photoshop · choose your most successful portraits, use photoshop to enhance (burn/dodge, cropping, curves, adjustments) Save final edits as a jpg:
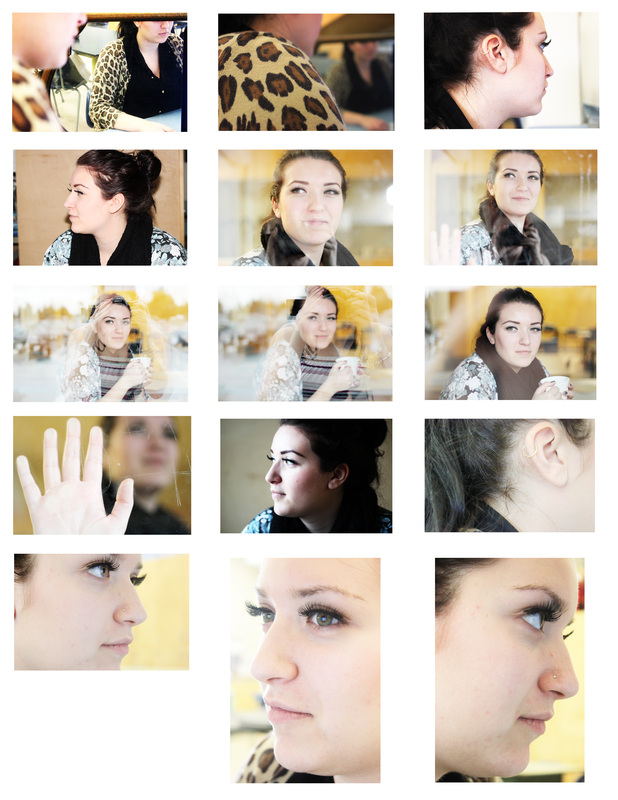
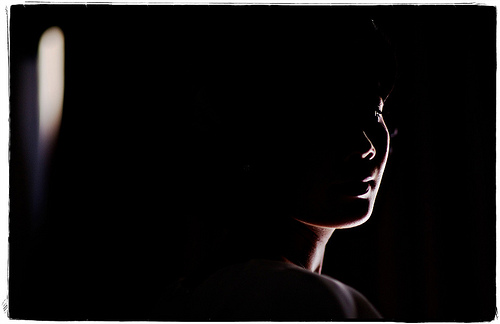
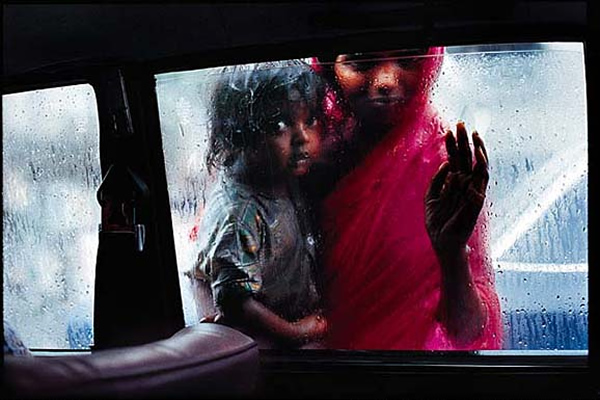
;ow key lighting - link: http://photography.tutsplus.com/tutorials/the-complete-beginners-guide-to-shooting-low-key--photo-3427 tips: :http://www.clickinmoms.com/blog/an-illustrated-guide-to-the-rules-of-portrait-composition/ Series 2: Slice of life: Environmental Portraits Level 1: 3 photos Level 2: 5 photos An environmental portrait is a that is taken the subject's usual environment, such as in their home or workplace, and typically illuminates the subject's life and surroundings. By photographing a person in their natural surroundings, it is thought that you will be able to better illuminate their character, and therefore portray the essence of their personality, rather than merely a likeness of their physical features. It is also thought that by photographing a person in their natural surroundings, the subject will be more at ease. Take at least 15 portrait shots must attempt the following: o up close to the model o from a distance o from up high o from down low o a reflection o light entering from a window
Reflection
Save file as: lastname_firstname_portraitreflection.jpg |


Project 1 - Escape - Due Oct 20
|
|
Escape from reality in your levitation photography! There are many things that we escape from in our lives and things we do to escape. Your first project is going to communicate the idea of escape. In your notebook brainstorm ideas around the concept of escape. Choose your best idea and draw a thumbnail sketch of your concept. Once you have approval you may begin your photography. 1.Take a picture with your model “levitating” on a stool or chair. Use the manual setting on your camera. Make sure your shutter speed and aperture are appropriately set up. Make sure that the model is in a position that appears to be floating. 2. Do not move the camera! Take the exact same photo without your model in the picture. 3. Upload your pics and open them in photoshop! Use the lasso tool to loosely draw around the edge of your model. Click “refine edge” and feather the edge a little. Copy 4. Go to you second photo and EDIT > PASTE SPECIAL > PASTE IN PLACE and your model will paste 5. Erase the stool or chair from the top layer. Flatten and save a copy of your image. VERY IMPORTANT 6. Optional: Choose one of the following tutorials to take your photo editing to the next level. Post your photo to your website with the before and after the photoshop tutorial. In a brief paragraph describe what you are escaping from and how your created your image. Equipment
|
